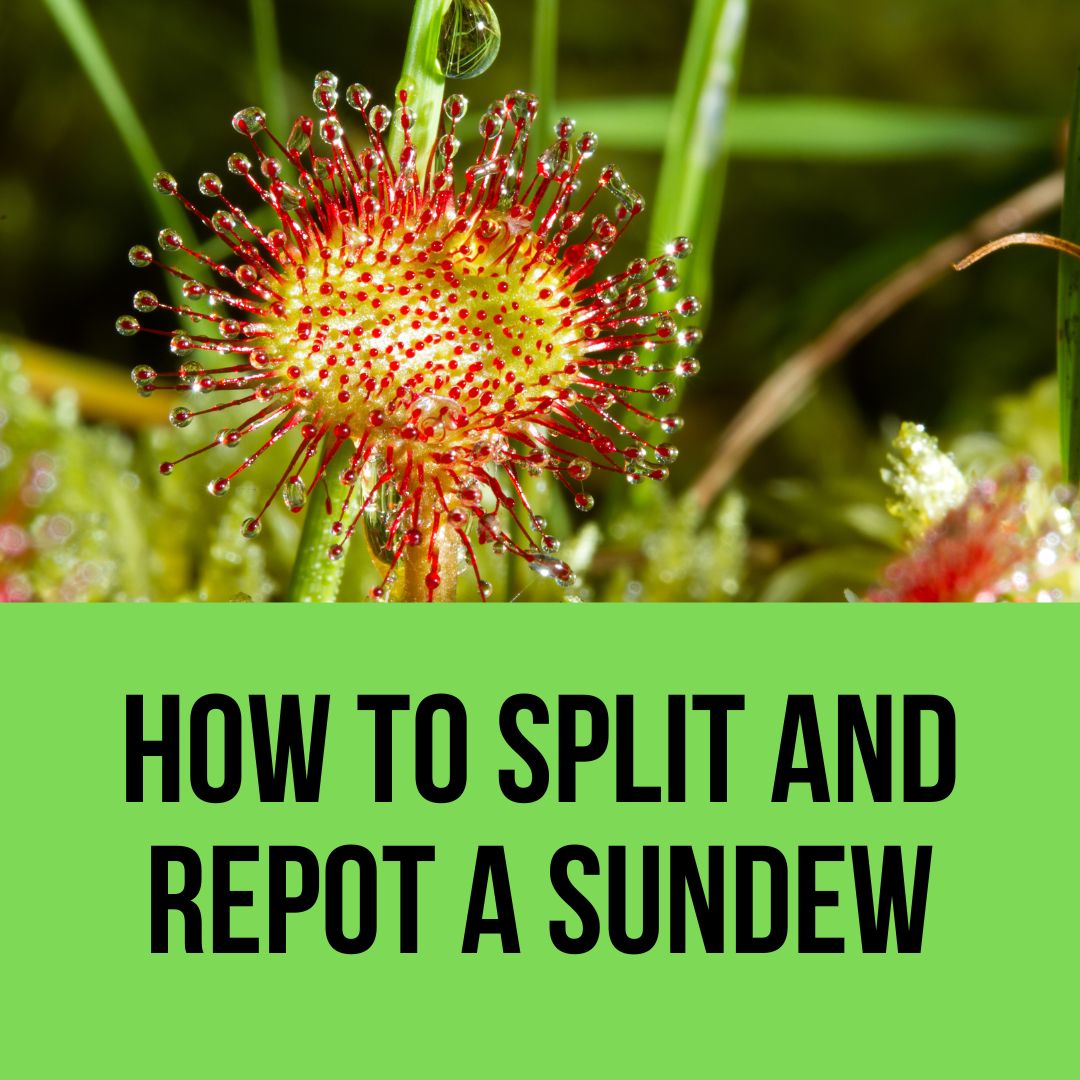
The carnivorous sundew has long piqued the interest of amateur and professional botanists alike with its striking appearance and potential therapeutic benefit. Sundews, along with other “meat-eating” plant species like pitcher plants and the Venus flytrap, have had a prominent position in the collective consciousness of botanists and plant lovers for quite some time. Today we will discuss how to split and repot a sundew.
One of the most amazing features of these carnivorous plants is the eerily identical behavior they exhibit toward the insect prey that allows them to lure them in, catch them, kill them, and then use their bodies to extract nutrition. Each leaf is covered in hundreds of sticky mucilaginous hairs, thus the name sundew.
An insect that settles on its surface is trapped; the leaf slowly folds around it, smothering it. They are gorgeous but dangerous predators, and the macabre aspect of their fatal traps has drawn many people to study them.
Like all other plants, Sundew needs to be repotted and split from time to time. This article will tell you how to split and repot a sundew. So, stay with us till the end of the article!

Equipment Required for Dividing and Repotting a Sundew
Make sure you have everything you need to re-pot a sundew before you start the process. There is no need to go out of your way to get the standard equipment you’ll need.
For your convenience, we have collected a list of everything from equipment to building supplies that you will need to do this project.
- A little bit bigger pot
- A spoon
- A fork
- Sand
- A plastic container that is 4 to 6 inches tall
- Peat moss
- A pair of gloves for garden work
- Distilled water
In order to keep your sundew in good health while you’re dividing and repotting it, use the tools provided here.
Transplanting and Splitting the Sundews
When sundews have been allowed to grow for some time in a container that is too small for them, the plant’s roots may begin to protrude through the bottom of the container. Additionally, the plant may eventually begin to cluster together. Therefore, it is in the best interest of your sundews to have them repotted or separated into many containers. It’s possible that repotting sundews may be challenging for you when you first begin, but if you follow the directions that are provided below, you won’t have any issues at all!
Repotting
It is considerably simpler to re-pot a sundew, that is growing in live or dead LFS mix as opposed to peat sand since the huge strands have a tendency to stay together and condense over time in the former medium.
You need to have the pot you’re going to use ready and fill it with the correct material that has been well washed. Create a hole in the growing medium that is sufficiently deep to ensure that the top surface of the plant will be flush with the surface of the growing medium in the next container. This manner, after you have removed the plant from its container in the subsequent stage, you can simply insert it in the hole that has been created, and you won’t have to fight to do so while holding the sundews and the bundle of media in one hand.
By applying a little amount of pressure to the edges of the container, you should be able to coax the whole bundle of media as well as the plant out of the container. In the event that this does not work, you will need to pry the media up from the bottom of the pot using a fork. To do this, just slide it in around the border of the pot so that the roots are not disturbed.
If you have a cluster of sundews, now is the time to separate them into individual plants. Prepare a number of separate containers in advance if you anticipate having a large number of clusters. Alternatively, if you want to grow a lot of sundews in a single pot, you should acquire a broad pot and make sure the medium has enough holes in it before you move the plants. Put the sundew or root ball that has the media in it into the hole that you have created.
Pressurize the surface of the media in a gentle manner in order to bring it level and to ensure that there is no air gap. Be careful to provide the container that contains your freshly planted sundew an additional light misting of water to ensure that the plant’s roots can establish themselves without delay.
Split and Repot A Sundew

Divvying Up for Extra-Long Roots
If the roots are substantial, remove the whole container from the plant. To carefully separate the sundew clump, use the mass of roots and medium as a guide, and then proceed with the following steps:
When you pick up the sundew clump or mass of media and roots, the plant should face away from you, and it should rest in the “cradle” formed by your hands.
You should mainly use your index and middle fingers while applying pressure with both of your hands in order to gain a firm grasp on the plant. Squeeze the top half of the media surface in a gentle manner so that you can get a good hold of it.
To disassemble the plant, use your thumbs to pull the sundews apart at their bases. This will allow you to separate the sundews.
After you have successfully cut the plant apart at the surface level, the next step is to cut it apart at the root level. To do this, first, separate the clump of material that is enclosing the roots, and then carefully pull the roots away from one another. In most cases, you will be able to take root cuttings and end up with more sundews even if you damage some of the roots.
Divvying up for more manageable roots
If you do not want to go through the difficulty of unpotting the whole pot of sundews, you may gently dig the clump out of the pot using a spoon or fork. This will save you the trouble of having to unpot the entire pot. The challenge here is to delve down far enough.
If you dig too shallow, you run the risk of damaging some of the roots by severing or shredding them. This may put your sundew behind a little bit, but if you lay the root segments that you broke off on top of the medium and keep the circumstances wet, new plants will grow from them.
When to divide and repot a sundew
Even while there is no hard and fast rule regarding how frequently you should divide and repot your sundew, most sundew owners find that doing so around once per year or two is important. If you see that your sundew needs more repotting than usual, view this as a compliment to the excellent care that you are providing it.
The following are indicators that it is time to repot your sundew:
Branches and roots grow through the drainage openings. When sundews have been growing for some time, the roots of the plant may begin to extend out of the container. This is an indication that the roots need more space.
Clumping
If the sundew is starting to cluster together, this indicates that the plant is becoming overcrowded and that it is time to either divide it or move it into a bigger container.
Root rot
If your sundew develops root rot, you should transplant it into a new container and use fresh soil. Your sundew has to be replanted if you observe any of these things occurring to it. Therefore, now is the time to go get a new pot and fresh soil.
Parting Thoughts
Once you have settled your sundew into its new residence, you will need to provide it with some more care until it becomes well-established in its new container. After you have divided and repotted your sundew, you should not miss any waterings or leave on vacation for more than a week at a time.
If you have a cold-hardy type of sundew that sleeps during the summer months, you should repot it in the autumn, when it is just beginning to wake up from its slumber.
In general, splitting and repotting your sundew is a simple operation that should be done on a frequent basis to maintain the plant’s health. Additionally, this is an excellent method for the propagation of sundews! If you want to increase the size of your collection, splitting and repotting sundew plants is the way to go. Before you know it, your space will be overrun by plants.
Hopefully, this guideline will help you with your sundew repotting and splitting task.
Thanks for stopping by! Happy gardening